Flat-roof solar panel mounting offers a versatile, efficient solution for maximising renewable energy on buildings with flat or low-pitched roofs. This article provides practical insights, best practices, and common pitfalls, empowering installers and property owners at every stage of the process.
What Is Flat-Roof PV Mounting?
Flat-roof PV mounting refers to installing solar photovoltaic panels securely on roofs with little to no pitch. These systems use specialist mounting structures to create the correct tilt, orientation, and wind resistance, allowing solar generation to be optimised even in challenging urban environments.
Why Choose Flat-Roof PV Mounting?
Choosing the right solar panel mounting system is crucial for maximising the benefits of renewable energy, especially on flat roofs. Flat-roof PV mounting systems stand out due to their adaptability, efficiency, and minimal impact on building aesthetics. Whether you’re managing a commercial property, upgrading a school, or adding solar to your home, understanding these unique advantages will help you make an informed decision and ensure the best long-term performance for your solar investment.
- Flexible Panel Orientation: Flat roofs provide the freedom to position panels at the optimum angle and direction (typically 10–15°, south-facing in the UK), maximising sunlight capture and year-round performance.
- Space Efficiency: With no ridges or obstructions, panels can be arranged to cover large surface areas – ideal for commercial buildings, schools, and even homes.
- Lower Visual Impact: Panels are less visible from street level on flat roofs, making installations more discreet and sometimes easier to approve in conservation areas.
- Simpler Installation and Maintenance: Flat roofs are generally safer and easier for fitters to work on than steeply pitched roofs, shortening installation times and reducing routine service costs.
Types of Flat-Roof PV Mounting Systems
Understanding the different types of flat-roof PV mounting systems is essential for tailoring your solar installation to the unique demands of your property. Each mounting approach, whether ballasted, penetrative, or hybrid, offers distinct advantages and considerations relating to roof structure, performance, longevity, and compliance. Gaining clarity on these options helps you select the system that will deliver optimal efficiency, maintain your roof’s integrity, and ensure long-term reliability for your solar investment.
1. Ballasted Systems
- Definition: Rely on weight (such as concrete blocks or trays filled with gravel) to secure the array, avoiding roof penetrations.
- Pros: No risk of damaging roof waterproofing. Quick installation. Good for temporary or future-proofed systems.
- Cons: Increased roof load. Not suitable for weak or deteriorating roofs. May require regular inspection to ensure stability, especially in high winds.
2. Penetrative Systems
- Definition: Mechanically fixed through the roof structure using anchors or brackets.
- Pros: Exceptionally secure in high-wind areas. Ideal where the roof cannot support extra weight.
- Cons: Requires strict sealing to prevent water ingress. Professional installation is critical to avoid long-term leaks or thermal bridging issues.
3. Hybrid and Innovative Methods
- Heat-Bonded Fixings: Sometimes, mounting rails or consoles are heat-bonded (welded) to single-ply membrane roofs for a watertight, semi-permanent solution.
- Triangular Framing: Adjustable frameworks allow panels to be set at precise pitches, especially useful where shading, skyline, or wind conditions vary.
Key Design Considerations
Before embarking on a flat-roof PV installation, careful attention to key design considerations is crucial for long-term performance and safety. These foundational factors ensure that your solar array is efficient, robust, and tailored to the specific characteristics of your roof. By addressing aspects such as structural load, orientation, shading, and waterproofing from the outset, you lay the groundwork for a system that delivers reliable returns, maintains roof integrity, and remains compliant with modern standards. Understanding these guiding principles will help you avoid costly mistakes and achieve the best results from your investment.
Roof Structure and Load
It is essential to confirm your roof’s load capacity with a structural engineer before installing a flat-roof PV system, particularly for ballasted systems, which can require substantial weight to secure the panels. The total weight must account for the panels themselves, the mounting structures, and any ballast, in both normal and snow-loaded conditions. Ballasted flat-roof systems typically require more weight per kilowatt than pitched installations due to the need for increased spacing between rows to avoid shading.
Orientation and Tilt
The orientation and tilt of the solar panels are critical for maximising efficiency. In the UK, a tilt angle of 10-15° facing south is generally considered optimal throughout the year, while east-west configurations offer a good alternative if true south is not achievable. Selecting the appropriate tilt helps panels stay cleaner, as rainfall can more effectively wash away dirt and debris.
Shading and Spacing
You must identify all potential sources of shading on the roof, such as vents, skylights, vertical walls, and rooftop plant equipment. To prevent energy losses, it is important to design the layout so that panels are spaced appropriately. Higher tilt angles require greater distance between rows to prevent shading from one row onto the next.
Roof Membrane Preservation
Maintaining the integrity of the roof membrane is vital for long-term roof performance. Ballasted systems should always include protective mats or trays to distribute weight and prevent abrasion of the roof surface, while penetrative systems require the use of high-quality sealing and flashing to ensure that every fixing point is fully watertight.
Fire Safety and Compliance
Fire safety and regulatory compliance must be integrated at every stage of the design process. According to MCS 012 and Building Regs Part B, roof PV systems must meet BROOF(t4) fire performance for flat roofs. Not all mounting materials are compliant. Select mounting materials and configurations that meet current UK fire codes and align with the latest Microgeneration Certification Scheme (MCS) standards. It is also necessary to maintain safe and accessible roof pathways for emergency use and routine maintenance. Taking these proactive design steps ensures your flat-roof PV installation remains efficient, safe, and durable over the long term.
Installation Process: Step-by-Step
A successful flat-roof PV system installation relies on a methodical, well-structured approach. Each phase, from the initial roof inspection to the final handover, plays a vital role in ensuring your solar array is secure, efficient, and compliant. By following a step-by-step process, installers and property owners can avoid common pitfalls and create a PV system that delivers reliable, cost-effective energy for years to come.
1. Roof Survey & Assessment
- Inspect structural and waterproofing condition.
- Confirm presence of obstacles, plant, and safe access.
2. System Design
- Layout, tilt angle, and mounting method chosen according to energy goals, roof constraints, and local regulations.
- Consider microinverters or optimisers for partially shaded or complex roofs.
3. Engineer Approval
- Structural sign-off for load, wind, and snow considerations.
- Assessment of potential planning permission needs.
4. Kit Selection & Procurement
- Choose system (e.g., ballasted trays, triangular frames, or penetrative rails). Match with panel size and layout.
5. Preparation & Mark-Up
- Mark positions for supports and check for underlying obstacles.
- If penetrative, prepare specialist sealing products.
6. Mount System
- Ballasted: Position trays, add ballasts, insert panels.
- Penetrative: Carefully fix brackets, seal, and weatherproof all penetrations.
- Hybrid: Heat-bond rails or utilise specialist frames as specified.
7. Panel Installation
- Secure panels with mounting clamps, check for alignment and spacing.
- Wire arrays to the chosen inverter(s).
8. Testing & Handover
- Inspect fixings, electrical integrity, and ensure all seals are watertight.
- Connect to grid or battery storage. Commission system and demonstrate monitoring.
Approaching each stage of the installation methodically not only safeguards the integrity of your flat roof but also maximises the long-term performance and safety of your solar system. By carrying out the necessary preparation, precise workmanship, and careful final checks, you help guarantee a flat-roof PV installation that stands up to both environmental challenges and regulatory demands, leading to a valuable, trouble-free renewable energy asset.
Popular System Components
Understanding the main components used in flat-roof PV mounting systems is key to ensuring a robust, efficient, and long-lasting solar array. Each part, from mounting trays to fixing clamps, plays a specific role in the stability, safety, and performance of your installation. Familiarity with these elements helps you make informed choices, guarantees compatibility with your roof type, and ensures compliance with relevant standards. By selecting reliable, high-quality components, you lay the foundation for a system that delivers clean energy with minimal maintenance and maximum return on investment.
| Component | Key Role | Notes |
|---|---|---|
| Mount Trays | Hold and support panels at tilt | Ballasted or fixed |
| Rails and Frames | Structure for attaching panels | Aluminium, galvanised steel |
| Ballast | Adds weight and stability (concrete, gravel, etc.) | For non-penetrative only |
| Clamps & Fixings | Secure panels to frames/trays | Must resist wind and corrosion |
| Protective Mats | Safeguard roof membrane from point-load damage | Required with ballasted trays |
| Sealing Compounds | Watertight roof penetrations | Vital for penetrative systems |
Benefits of Flat-Roof PV Systems
- High Flexibility: Tailored design for specific site conditions.
- Ease of Maintenance: Panels are accessible for cleaning and inspection.
- Potentially Lower Installation Cost: Especially for large, simple roofs.
- Future-Proofing: Panels can be adjusted or repositioned as roof use changes.
- Increased Output: Optimal tilt and minimal shading maximise annual generation.
Challenges and Solutions
| Challenge | Solution/Consideration |
|---|---|
| Roof Load Limits | Structural assessment; use lightweight mounting if required |
| Shading Issues | Careful layout, microinverters, or optimisers |
| Wind Exposure | Secure mounting; consider penetrative fixings for windy areas |
| Roof Penetration Risks | Use best practice sealing, or select ballasted/non-penetrative systems |
| Planning/Regulations | Ensure MCS compliance; check for listed/conservation area restrictions |
Cost Breakdown
Calculating the full cost of a flat-roof PV installation is crucial for setting realistic expectations and planning your investment wisely. The total price goes beyond just the solar panels themselves. You must factor in the mounting systems, labour, engineering approvals, and ongoing maintenance. By understanding each cost component and how they interrelate, you can make informed choices that balance quality, safety, and value. A clear cost breakdown helps you budget effectively and ensures your solar solution is both affordable now and sustainable for the future.
- Mounting kit cost: Varies by method and quality. Ballasted systems can cost more in materials but often save on labour.
- Labour: Flat roofs may reduce labour costs due to safer, simpler access and positioning.
- Engineering sign-off: Always build in cost for structural/sealing compliance.
- Maintenance: Budget for regular inspections if using ballasted systems.
Overall, the total cost for flat-roof solar can be slightly higher or lower than for a pitched roof but it largely depends on the individual site.
Best Practice Installation Tips
- Aim for a tilt of 10–15° for self-cleaning and performance.
- Use ballasted systems wherever roof penetration risks leaks or warranty loss.
- Always conduct a full load analysis and weather assessment.
- Preserve existing waterproofing with mats, trays, or correct sealants.
- Leave safe roof access pathways for service and emergency use.
- Document all steps for building control, warranty, and future installers.
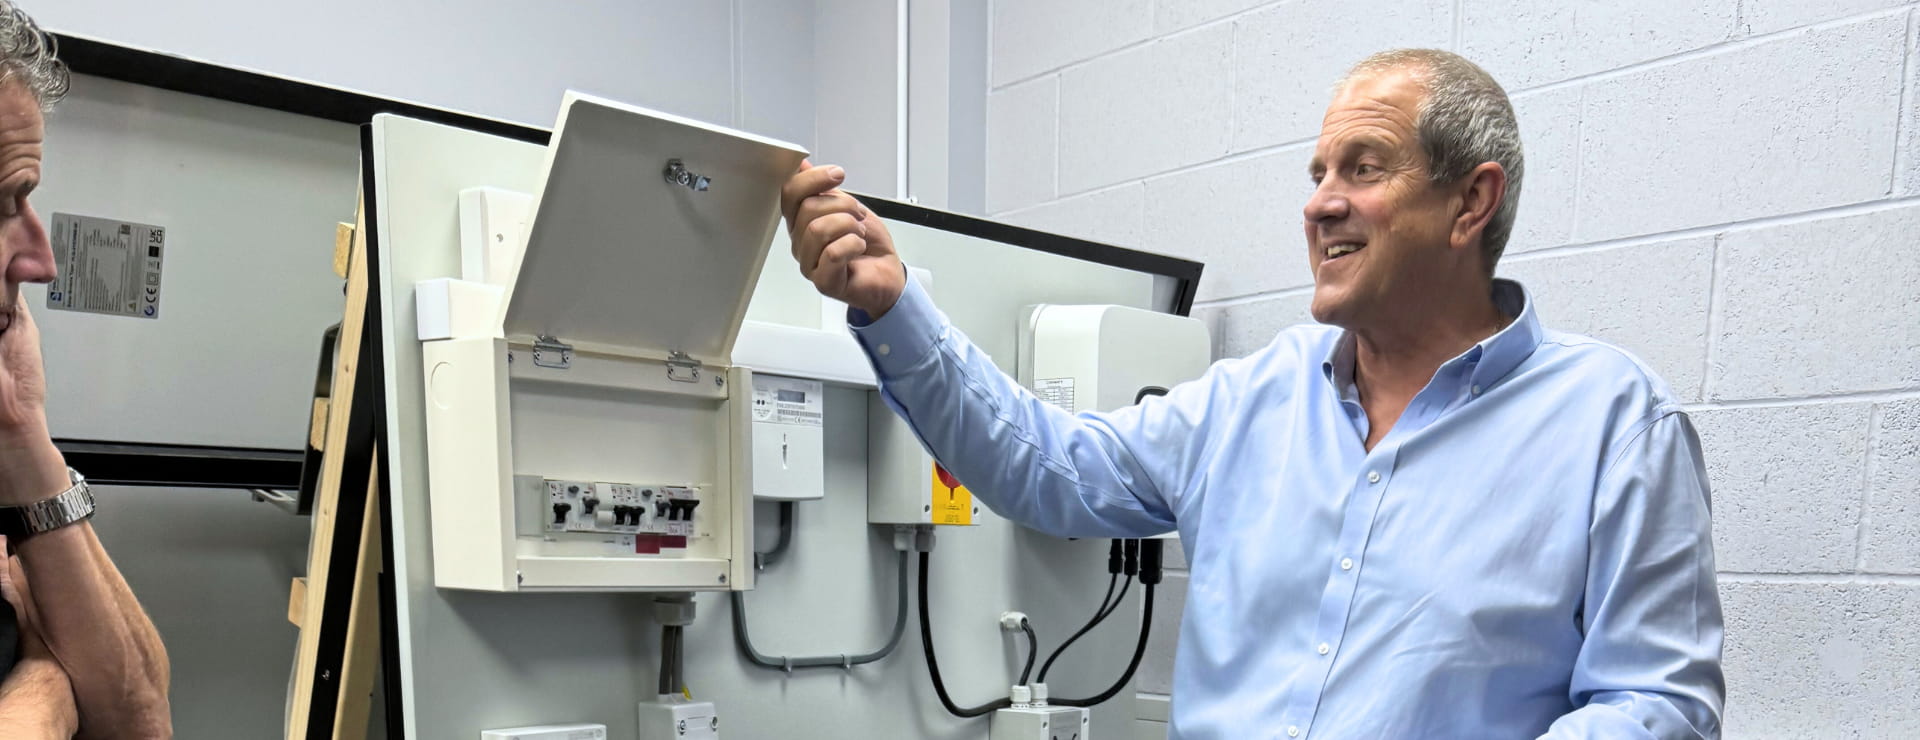
Solar PV Training
At Logic4training, we bring years of experience in solar installation training and practical on-site solutions. Our trainers have worked on many flat-roof PV projects across the UK, giving us unique insight into the nuances of each mounting method, material, and compliance challenge. Every recommendation in this article is built on nationally recognised best practice and accredited training content.
In addition to our robust practical track record, we continually refine our courses and advice to align with the latest industry developments and compliance requirements. This dual focus on hands-on expertise and up-to-date knowledge positions us as a trusted authority, supporting learners and professionals to achieve safe, reliable, and high-performing solar PV installations.
View our Solar PV training course
FAQs
How long does it take to install a flat-roof PV system?
Most flat-roof solar PV installations can be completed in 1-3 days once materials and approvals are in place. The exact duration depends on the roof size, complexity, and weather conditions. Commercial projects or installations requiring structural modifications may take longer.
What maintenance is required for flat-roof solar panels?
Flat-roof PV systems need periodic inspections, typically yearly, to check for debris, secure mounting, electrical connections, and potential roof leaks. Cleaning panels occasionally can improve performance, especially in areas with low rainfall or significant bird activity.
Are flat-roof PV systems suitable for residential properties?
Yes, flat-roof PV systems are suitable for both commercial and residential buildings. They allow flexible panel placement, can be discreet from street view, and are often easier to maintain. A professional survey will confirm if your home’s roof can support a system safely.
Do I need planning permission to install solar panels on a flat roof?
Generally, planning permission is not needed unless your property is listed or within a conservation area. Panels should not protrude above the roof ridge or impede access. Always check local regulations and ensure compliance with the Microgeneration Certification Scheme (MCS).
Can any flat roof support a solar array?
Not all flat roofs are suitable. A structural survey is required to confirm your roof can bear the additional weight of the mounting system, panels, and any ballast or fixings required.
Which is better: ballasted or penetrative mounting?
It depends on your roof’s condition and future use. Ballasted systems avoid waterproofing risks but weigh more; penetrative fixings are lighter but require watertight installation and professional attention to sealing.
Can flat-roof solar panels be paired with battery storage?
Absolutely. Flat-roof solar installations can be integrated with battery storage solutions to maximise on-site energy use, reduce grid reliance, and provide backup during power outages. Battery systems are increasingly popular among homeowners and businesses aiming for energy independence.
How do I maximise energy output on a flat roof?
Optimise by installing panels at a 10-15° angle, facing south if possible. Avoid shade, use the entire available surface, and leave sufficient space between rows to prevent self-shading.
Will installing solar panels damage my flat roof?
When properly installed by professionals using suitable mounting systems (ballasted or penetrative with correct sealing), solar panels should not damage a flat roof. It’s essential to select the right system for your roof type and ensure regular maintenance to check both panel mounts and roof integrity.
