If your radiator is colder at the top than the bottom, making gurgling noises, or just not delivering the toasty warmth you crave, it’s probably time to bleed it. Don’t worry, this isn’t as scary as it sounds. Bleeding a radiator is a simple, safe job you can do yourself, and it can make a world of difference to your heating system’s efficiency, your comfort, and even your energy bills.
How to Tell If Your Radiator Needs Bleeding
Let’s start with the basics. Radiators work by circulating hot water through metal panels, which then radiate heat into your room. Over time, air can sneak into the system and get trapped at the top of your radiators. Since air doesn’t conduct heat like water, this means:
Before you grab your tools, check for these tell-tale signs:
- Cold patches at the top of the radiator, while the bottom is warm.
- Strange noises such as gurgling, bubbling, or knocking.
- Radiators are taking ages to warm up, or not heating up at all.
- The heating system feels less efficient, and your bills are creeping up.
If any of these sound familiar, it’s time to get bleeding.
What You’ll Need
- Radiator bleed key (or a flat-head screwdriver for some modern radiators). Can easily be bought from Tool Station, Screwfix or Amazon.
- 1 or 2 old towels or cloths (to catch drips)
- Gloves (optional)
- A little patience
Step-by-Step Guide: How to Bleed a Radiator
1. Turn Your Heating On (Briefly)
Switch your heating on and let your radiators run for about 10-15 minutes. This helps you identify which radiators have cold spots and need bleeding. Run your hand (carefully) over each radiator. If the top is cold and the bottom is warm, you’ve found your culprit.
2. Turn Your Heating Off and Let Radiators Cool
Safety first! Turn off your heating and give the radiators time to cool down. You don’t want to risk scalding yourself with hot water or steam.
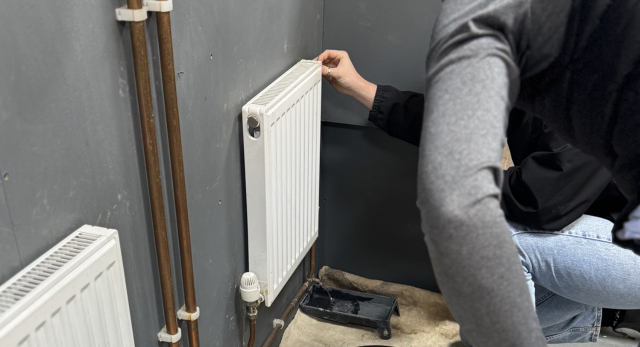
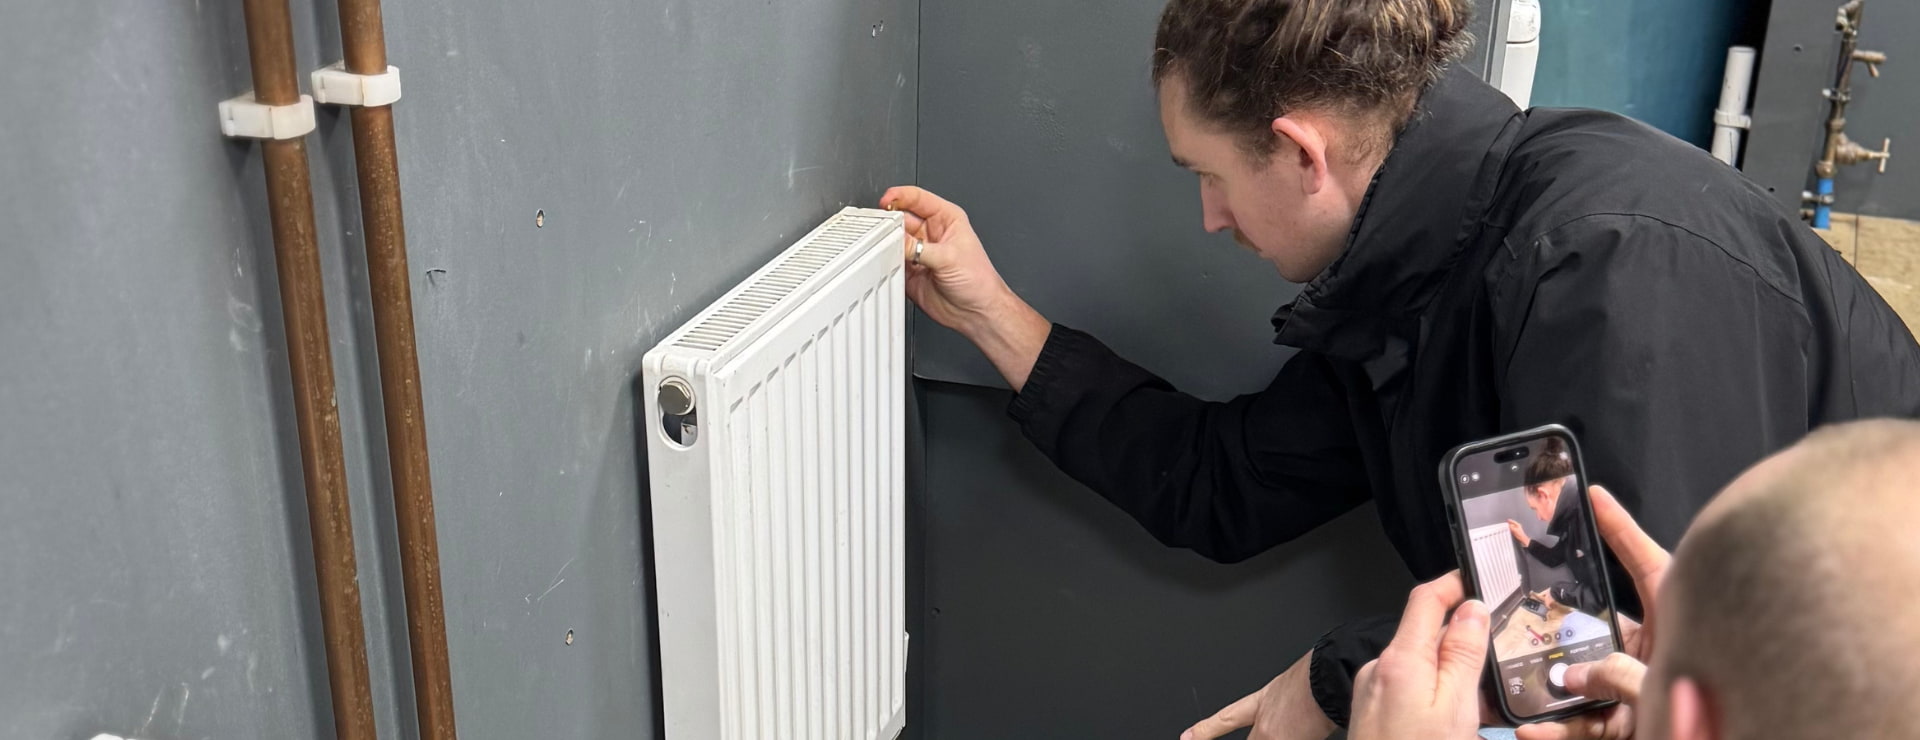
3. Locate the Bleed Valve
The bleed valve is usually found at the top corner of the radiator. It looks like a small, round nut with a square hole in the middle. Some newer radiators use a flat-head screwdriver or even an Allen key instead of a traditional bleed key.
4. Prepare Your Area
Hold an old towel or cloth with one hand under the radiator’s bleed valve to catch any drips. If it’s your first time bleeding radiators and you are nervous, whilst it may be needed, you can place another towel on the floor to catch any water that escapes. Trust us, this will save your floors from unsightly stains.
5. Insert the Bleed Key and Open the Valve
- Fit your radiator key (or flat-head screwdriver) into the valve.
- Turn it slowly anti-clockwise (about a quarter to half a turn).
- You’ll hear a hissing sound as trapped air escapes. That’s the sound of progress!
6. Wait for Water to Appear
Once the hissing stops and water starts to trickle (or spurt) out, the air’s gone. Quickly turn the key clockwise to close the valve. Don’t overtighten it. It just needs to be snug.
7. Wipe Down and Move On
Mop up any drips with your towel or cloth. If you have more than one radiator to bleed, repeat the process for each one. Start with the radiator furthest from your boiler and work your way closer.
8. Check Your Boiler Pressure
Bleeding radiators can cause your boiler’s pressure to drop. After bleeding the radiators, check the pressure gauge. It should typically sit between 1.0 and 1.5 bar when the system is off. If it’s too low, top it up using your boiler’s filling loop (it looks like a metal hose). Please be sure to check your boiler’s manufacturer’s instructions to be 100% sure.
9. Turn Your Heating Back On
Switch your heating back on and check each radiator for cold spots. If all’s well, you’re done! If not, you might need to repeat the process, or there could be another issue (like sludge buildup. More on that later).
Tips from the Pros at Logic4training
Do’s:
- Bleed your radiators at least once a year: Ideally before winter sets in.
- Listen for gurgling noises: They’re a classic sign of trapped air.
- Keep an eye on your heating bills: If they’re creeping up, your radiators could be contributing to it.
- Don’t ignore persistent cold spots: They could indicate a bigger issue, like sludge or a faulty valve.
Dont’s:
- Bleeding with the heating on: Hot water and steam can cause burns. Always let the system cool.
- Forgetting to check boiler pressure: Low pressure can stop your heating working properly.
- Overtightening the valve: This can damage the valve or make it hard to open next time.
- Ignoring the bleeding order: Start with the radiator furthest from the boiler, and work towards it.
- Not protecting your floors: Water stains are a pain to remove. Always use a towel or cloth.
Bleeding Different Types of Radiators
Modern Radiators
- Often have bleed valves that can be opened with a flat-head screwdriver.
- Some even use an Allen key, so check your radiator’s manual.
Towel Rails
- Usually bled in the same way as standard radiators.
- The valve might be hidden under a chrome cap. Pop it off to access the bleed point.
Old-School Cast Iron Radiators
- May need a specific bleed key.
- Take extra care. These can hold more water and may release it more forcefully.
What If Bleeding Doesn’t Fix the Problem?
Still got cold spots after bleeding? The issue might not be trapped air, but rather a build-up of sludge or debris in your radiator. This is common in older systems and can seriously affect efficiency. If you suspect sludge, it’s time to call a professional for a power flush of your heating system.
Maintaining Your Heating System: The Bigger Picture
Bleeding your radiators is just one part of keeping your heating system in tip-top shape. Here’s what else you should consider:
- Annual boiler servicing: Keeps everything running safely and efficiently.
- System flushing: Removes sludge and debris that bleeding can’t fix.
- Thermostatic radiator valves: Help you control room temperatures more precisely.
- Smart heating controls: Can save you money and boost comfort.
For a truly efficient, reliable heating system, it pays to be proactive. Take a look at your maintenance routine and see which of these steps you could start today? A little extra effort now could mean fewer breakdowns, lower bills, and a warmer, worry-free winter ahead
Logic4training: Your Heating Experts
With over 20 years’ experience training the UK’s top heating engineers, Logic4training is your go-to source for practical, up-to-date advice. Whether you’re a homeowner, landlord, or aspiring engineer, we’ve got the courses, guides, and expertise to keep your home warm and your skills sharp.
Want to take your knowledge further? Explore our Property Maintenance course to learn the essential skills, like bleeding radiators, or check out our Plumbing courses if you want to take your plumbing skills and knowledge to the industry standard.
FAQs
How often should I bleed my radiators?
Once a year is a good rule of thumb, ideally before winter. If you notice cold spots or noises, bleed them sooner.
Can I bleed a radiator while the heating is on?
No. Always turn the heating off and let radiators cool before bleeding to avoid burns or scalds.
What if water doesn’t come out when I bleed the radiator?
If no water appears after the hissing stops, your system pressure may be too low. Check your boiler’s pressure gauge and top up if needed.
Why is my radiator cold at the bottom after bleeding?
This usually means there’s a build-up of sludge or debris. Bleeding won’t fix this. You’ll need a power flush or professional help.
Can I bleed a radiator without a bleed key?
Some modern radiators can be bled with a flat-head screwdriver. If yours requires a key and you’ve lost it, replacements are cheap and widely available at DIY shops.